
Introduction
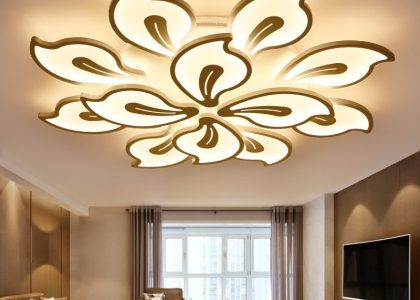
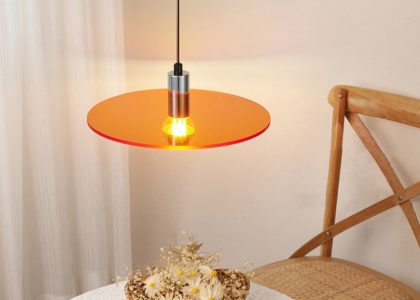
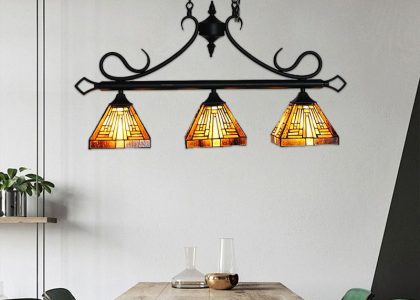
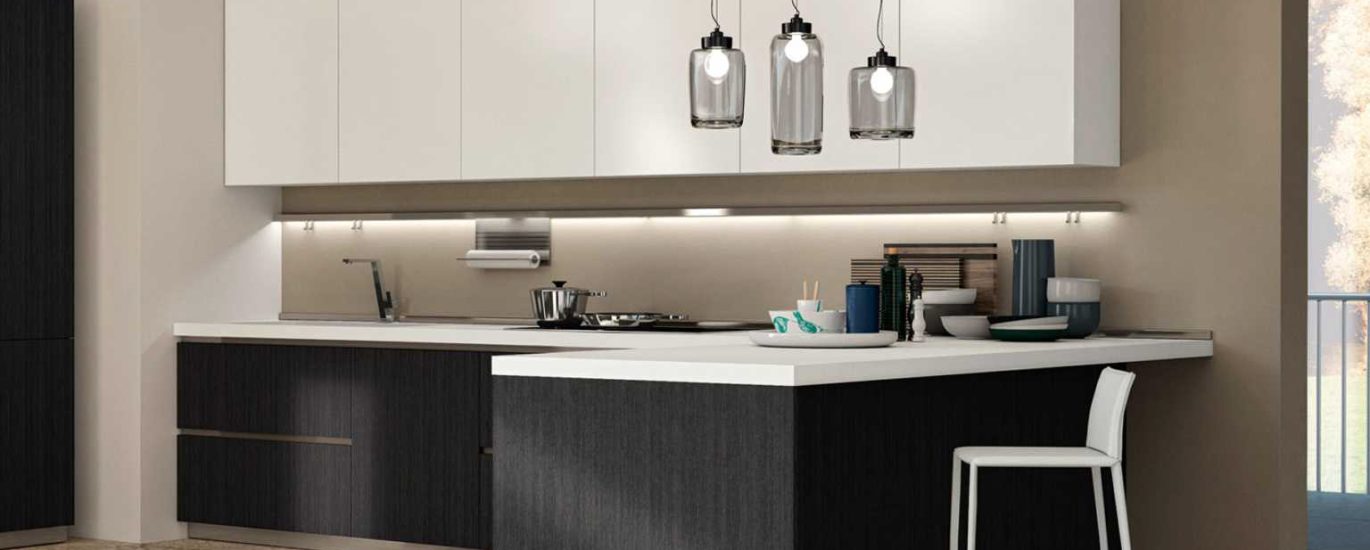
Are you tired of traditional lamps and looking for innovative ways to light up your home? Turning a vase into a lamp is a great idea that will give your room a unique and stylish touch. However, using a drill to make a hole in the vase can be challenging, especially if you are not comfortable with power tools.
In this article, we will provide you with a step-by-step guide on how to transform your vase into a lamp without drilling. No power tools or special skills are necessary, just a few simple materials and some creativity.
Materials Needed
Before getting started, make sure you have the following materials:
- A vase with a flat bottom and a wide opening
- A lamp making kit (including a socket, a plug, and a switch)
- A bulb that fits the lamp kit
- A lampshade that fits the size and shape of your vase
- Glue gun and glue sticks
- Scissors
- Electrical tape
Step-by-Step Instructions
Follow these simple steps to turn your vase into a lamp without drilling:
Step 1: Choose the Right Vase
Not all vases are suitable to use as a lamp base. Make sure you select a vase with a wide opening and a flat bottom. This will make it easier to attach the lamp kit and ensure the lamp is stable.
Step 2: Assemble the Lamp Making Kit
Take the lamp kit and assemble the socket, plug, and switch according to the instructions provided. Make sure everything is connected securely and safely.
Step 3: Attach the Lamp Making Kit to the Vase
Use the glue gun to attach the socket to the bottom of the vase. Once it is attached, use the electrical tape to secure it in place. Next, run the wire through the opening of the vase and secure it to the bottom using the glue gun and electrical tape.
Step 4: Attach the Plug and the Switch
Attach the plug to the end of the wire using the glue gun and electrical tape. Make sure it is securely attached and the wire is not exposed. Then, attach the switch to the wire near the socket using electrical tape.
Step 5: Attach the Lampshade
Once the lamp kit is securely attached, it’s time to add the lampshade. Place the lampshade over the top of the vase and make sure it fits securely. Adjust the shade so the bulb position is centered and not touching the sides of the shade.
Step 6: Add the Light Bulb
The final step is adding the light bulb. Screw the bulb into the socket and test the lamp by switching it on. If everything is working correctly, you now have a beautiful and unique vase lamp!